You scrape the leftover dinner into the trash. A few coffee grounds, some wilted spinach, the ends of an onion, an apple core from this morning. By the end of the week the kitchen bin smells, the bag is heavy, and out it goes to the curb.
Here’s the part most people never think about: roughly half of what’s in that bag wasn’t garbage at all. It was raw material for some of the best soil you could ever put in a garden — and you were paying to throw it away.
That’s the small shift composting asks you to make. Instead of sending food scraps and yard trimmings to a landfill, you let nature turn them into a dark, crumbly, earthy-smelling material that feeds plants and rebuilds soil. It costs almost nothing, it shrinks your trash, and once you get the hang of it, it takes about as much effort as taking out the recycling.
This guide walks you through how to start composting at home from scratch. We’ll cover what composting actually is, what you can and can’t toss in, the different methods (including options for apartments with no yard), how to set up your first bin, and how to fix the handful of problems every beginner runs into. No jargon, no guilt, just a clear path from “I keep meaning to try this” to a working compost system you’ll actually keep using.
What Is Composting?

Composting is the natural process of turning organic material — like food scraps and yard waste — into a nutrient-rich soil conditioner called compost. It happens when bacteria, fungi, and small organisms break down that material into something that looks and smells like rich, dark earth.
It’s the same thing that happens on a forest floor. Leaves fall, fruit drops, branches come down, and over time it all rots into the soft layer of soil underneath. Composting at home just speeds that process up and keeps it organized in one spot instead of scattered across the ground.
The end product goes by a few names — compost, “black gold,” or finished humus. Whatever you call it, good compost is dark, loose, crumbly, and smells like a forest after rain. It doesn’t smell like garbage. If your finished pile smells bad, something went wrong (and that’s fixable, which we’ll get to).
A few things every compost pile needs to do its job:
- Greens — wet, nitrogen-rich material like fruit and vegetable scraps
- Browns — dry, carbon-rich material like dead leaves and cardboard
- Air — oxygen keeps the good microbes alive and the smell away
- Water — enough moisture to keep things damp, but not soggy
Get those four roughly in balance and decomposition takes care of itself. That’s the whole secret. Everything else in this guide is just detail on how to keep that balance without overthinking it.
Why Composting Matters
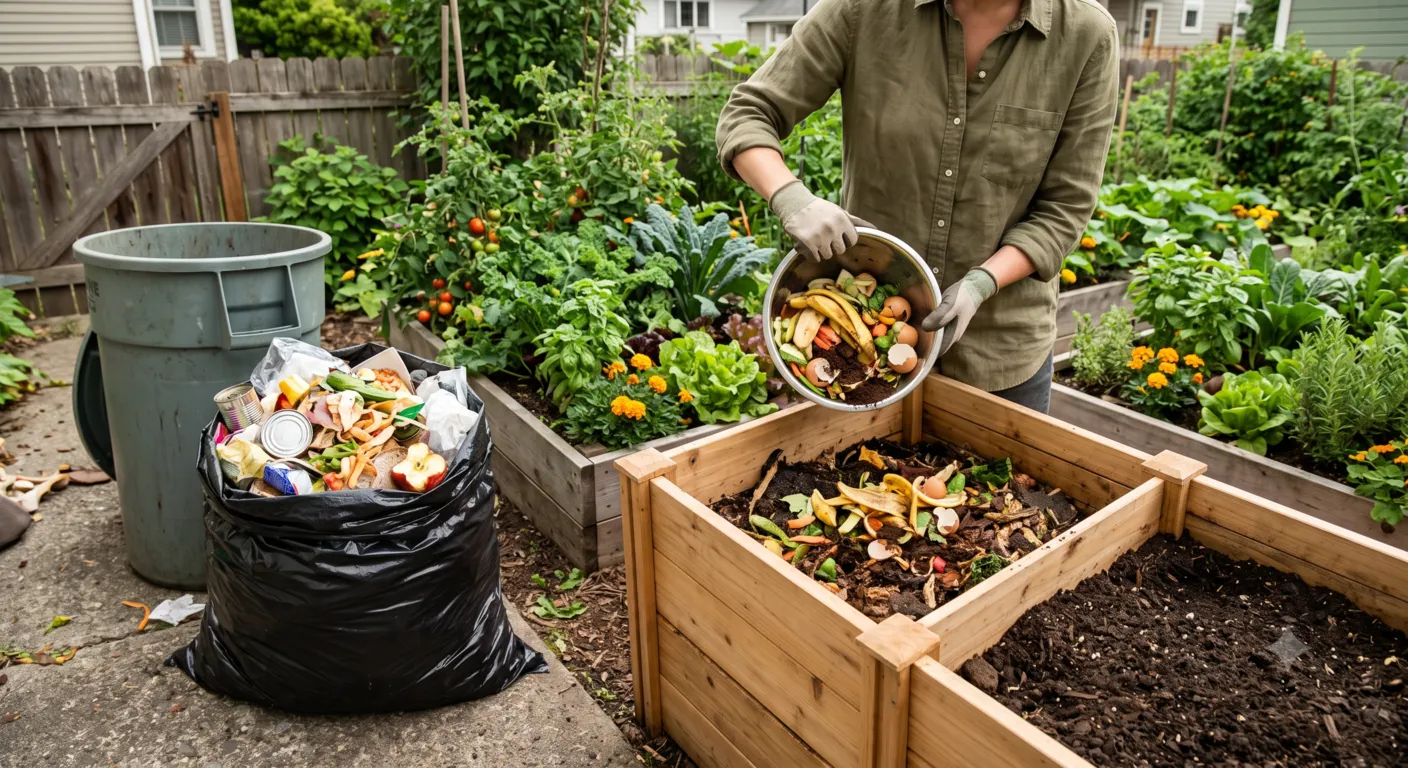
It’s easy to assume that food scraps “just rot anyway,” so it can’t matter much where they end up. The location changes everything.
When food waste goes to a landfill, it gets buried under more and more trash and ends up sealed off from oxygen. Without air, it breaks down in a way that releases methane — a greenhouse gas that traps far more heat than carbon dioxide over the short term. Landfills are one of the larger human sources of methane, and rotting food and yard waste are a big reason why.
Composting works differently. Because a compost pile has air moving through it, the material breaks down aerobically — with oxygen — which produces mostly carbon dioxide and very little methane. Same scraps, very different outcome for the air.
There’s a soil side to this too. Decades of intensive farming and heavy chemical fertilizer use have left a lot of soil depleted and lifeless. Compost does the opposite: it feeds the living organisms in soil, helps it hold water, and slowly rebuilds the structure that lets plants thrive. You’re not just disposing of waste — you’re creating something soil genuinely needs.
For most households, food scraps and yard trimmings together make up a large share of everything we throw out. Pulling that material out of the trash and turning it into compost is one of the most direct, hands-on eco-friendly habits you can build. It’s a real, hands-on piece of a full zero waste lifestyle — not an abstract idea.
Benefits of Composting
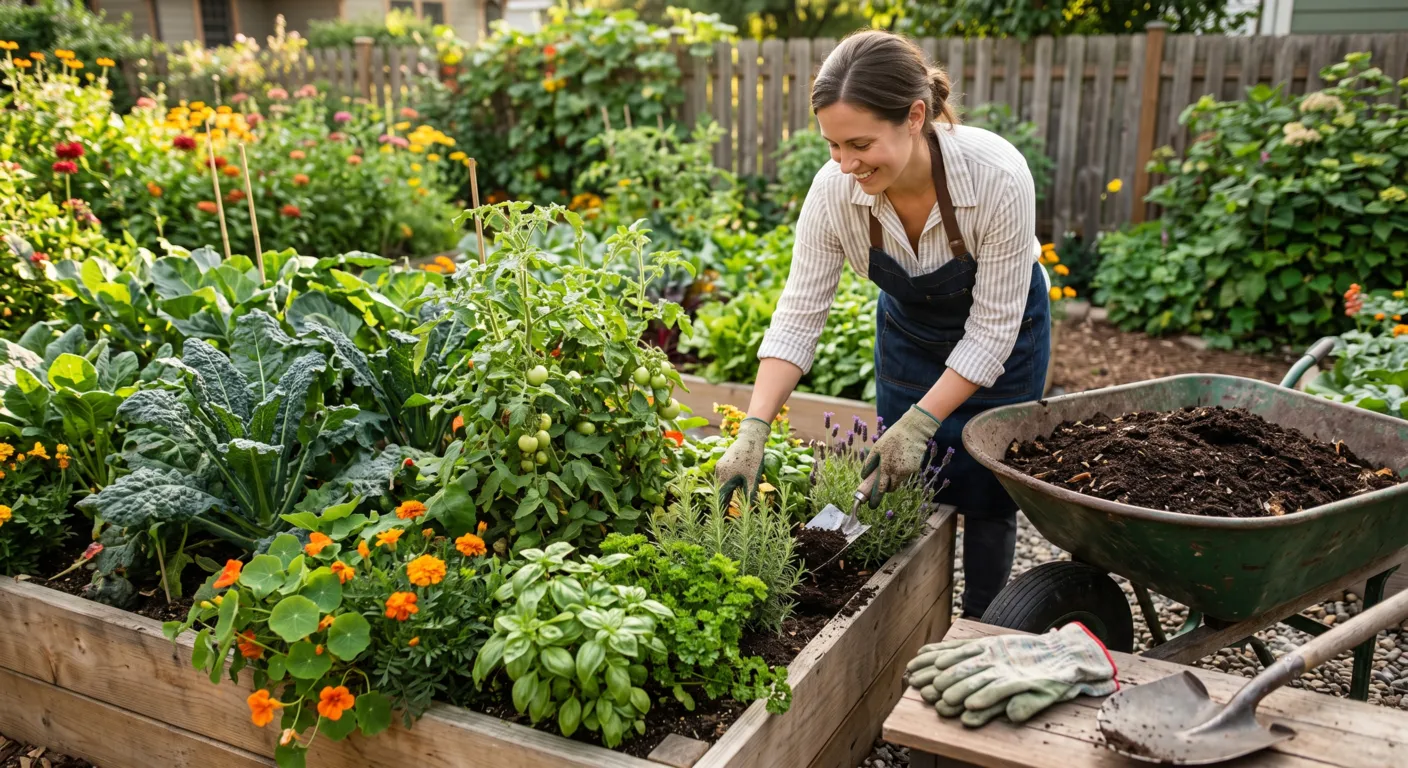
The big-picture reasons are nice, but composting sticks as a habit because of the everyday payoffs. Here’s what you actually get out of it.
Free, high-quality soil. Compost is one of the best soil amendments money can buy — except you’re making it for nothing out of stuff you’d throw away. Mix it into garden beds, top-dress your lawn, feed your houseplants, or use it when potting up containers. Gardeners pay good money for bagged compost; you’ll have a steady supply.
Healthier plants without chemicals. Compost slowly releases nutrients and feeds the soil life that helps plants take those nutrients up. It improves drainage in heavy clay and helps sandy soil hold water. For a lot of people, composting becomes the reason they can cut back on or skip synthetic fertilizer altogether.
A much smaller, less smelly trash can. Once food scraps stop going in the kitchen bin, two things happen fast: your trash gets lighter, and it stops stinking. The smell from household garbage is usually rotting food. Take that out and the bin stays far more pleasant between collection days.
Real money savings. This adds up in a few ways — less spent on fertilizer and soil, fewer trash bags, and in towns that charge by the bag or bin, a smaller waste bill. None of these are huge on their own, but they’re steady, and the system pays for itself quickly.
A simple way to waste less overall. Composting tends to make people more aware of food waste in general. When you’re handling your scraps directly, you start noticing how much produce you let go bad, and you naturally tighten up. It pairs well with other waste reduction efforts, whether that’s a plastic-free lifestyle, buying in bulk, or just meal planning a little better.
It’s genuinely satisfying. This one’s hard to quantify, but it’s real. Watching a bin of scraps and leaves turn into soil you grow food in is quietly rewarding in a way that few household chores are.
What Can Be Composted
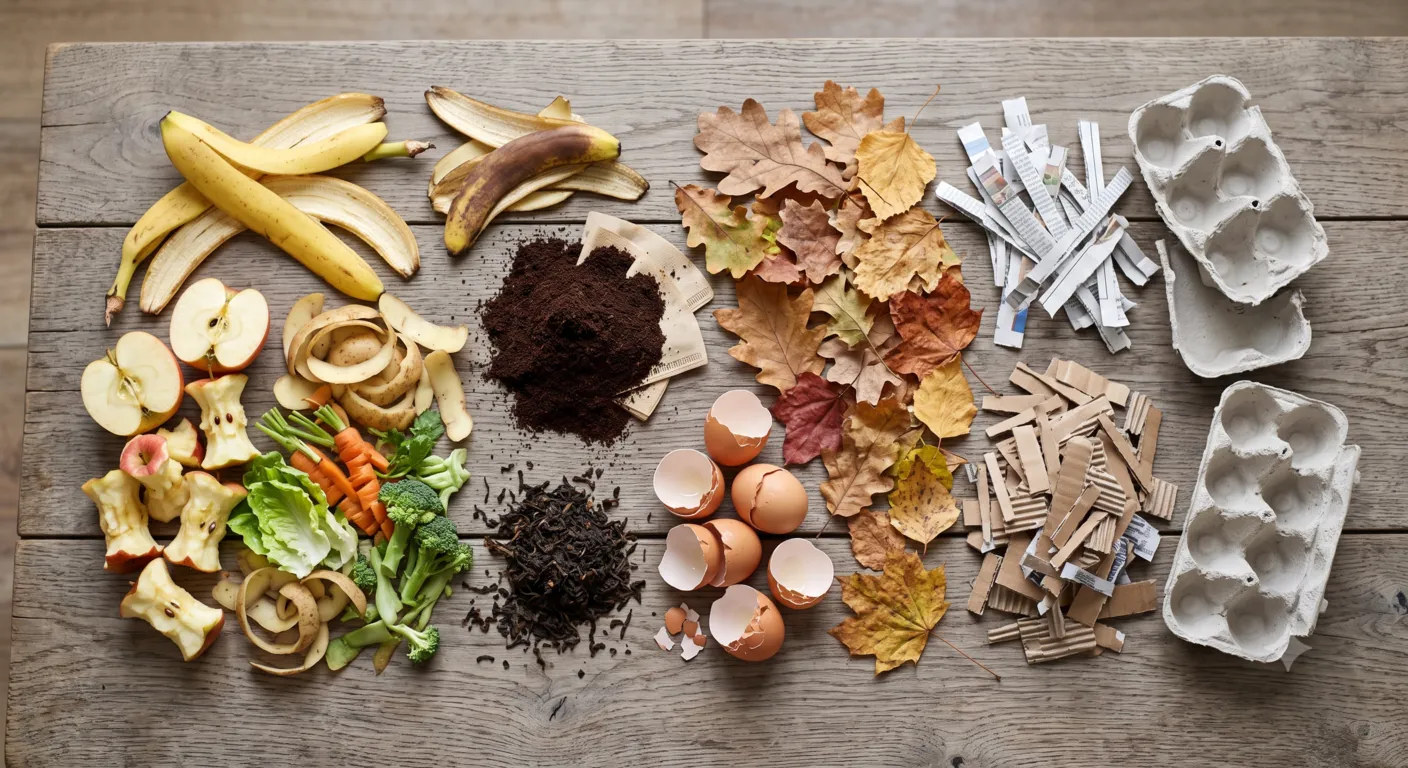
A healthy compost pile is a mix of “greens” and “browns.” Greens are wet and rich in nitrogen. Browns are dry and rich in carbon. You need both — greens feed the microbes, browns give them energy and keep the pile from going soggy and smelly.
A simple rule of thumb for beginners: aim for roughly two to three parts browns for every one part greens by volume. You don’t need to measure anything. If the pile looks too wet or starts to smell, add more browns. If it’s bone dry and nothing’s happening, add more greens.
Greens (Nitrogen-Rich)
- Fruit and vegetable scraps and peels
- Coffee grounds and paper coffee filters
- Loose tea and most tea bags (check that the bag isn’t plastic)
- Fresh grass clippings
- Green leaves and plant trimmings
- Crushed eggshells (technically not a “green,” but they go in here — they add minerals and break down slowly)
- Spent flowers and houseplant trimmings
Browns (Carbon-Rich)
- Dry, dead leaves
- Shredded plain cardboard and paper (no glossy coating)
- Paper towel and toilet paper rolls
- Egg cartons (the paper kind)
- Straw and hay
- Sawdust and wood shavings from untreated wood
- Small twigs and woody prunings
- Shredded newspaper
A couple of practical notes from experience. Chop or tear larger items into smaller pieces — a whole cabbage will break down eventually, but a chopped one disappears in a fraction of the time. And keep a stash of browns nearby (a bag of dry leaves in fall, or a box of shredded cardboard) so you always have something dry to add when you dump in a load of wet kitchen scraps. Running out of browns is the single most common reason a beginner’s pile turns into a slimy mess.
What Should Never Be Composted
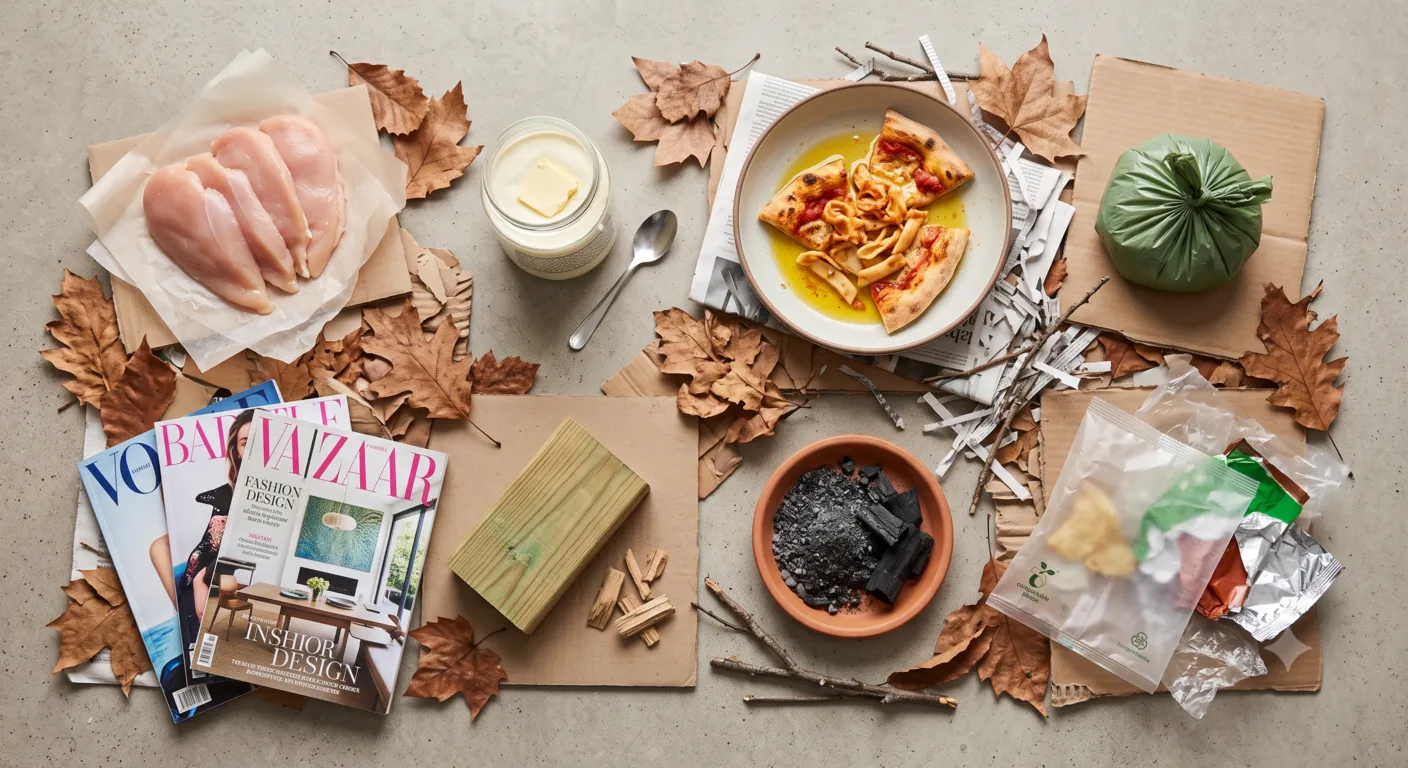
Just as important as what goes in is what stays out. In a typical backyard or kitchen compost system, these items cause smells, attract pests, or introduce things you don’t want in soil you’ll grow food in.
Keep these out of a home compost pile:
- Meat, fish, and bones — they rot, smell strongly, and draw rodents and other animals
- Dairy products — cheese, milk, yogurt, butter, for the same reasons
- Greasy or oily food, and cooking oil — fats coat materials, block air, and slow everything down
- Pet waste from dogs and cats — it can carry parasites and pathogens that aren’t safe for food-garden compost
- Diseased or pest-infested plants — a backyard pile usually doesn’t get hot enough to kill the problem, so you risk spreading it
- Weeds that have gone to seed — those seeds can survive and sprout wherever you spread the compost
- Treated, painted, or stained wood and its sawdust — it can leach chemicals
- Glossy or heavily coated paper — magazines, receipts, and shiny packaging
- Coal or charcoal ash — it can contain substances harmful to plants
- “Compostable” or “biodegradable” plastics and packaging — most of these only break down in high-heat industrial facilities, not a backyard bin
A quick word on that last one, because it trips a lot of people up. A cup or bag labeled “compostable” usually needs an industrial composting facility to actually break down. Tossed in a home pile, it’ll mostly just sit there. Check whether your area has a commercial composting program before assuming those items belong in your bin.
If you really want to compost things like meat, dairy, and cooked leftovers, there are methods built for it — bokashi fermentation is the main one — which we’ll cover next.
Different Types of Composting
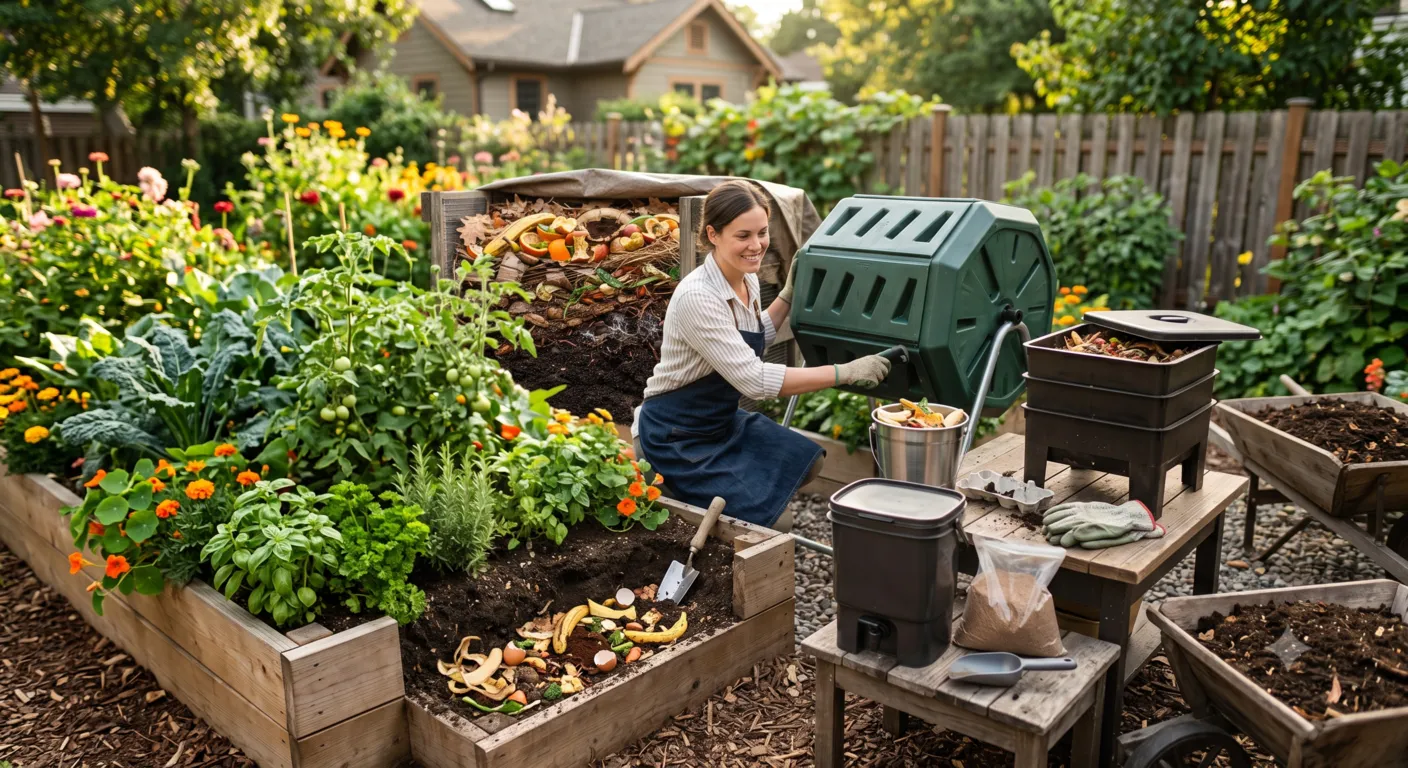
There’s no single “right” way to compost. The best method depends on your space, how much effort you want to put in, and how fast you need finished compost. Here are the main approaches.
Cold Composting
Cold composting is the lazy, low-effort method, and there’s nothing wrong with that. You add scraps and yard waste to a pile or bin as you generate them and let nature take its time. You don’t turn it much, you don’t fuss over ratios, and you mostly just wait.
The trade-off is speed. A cold pile can take anywhere from six months to two years to fully break down. It’s a great fit if you have a corner of the yard, you’re patient, and you’d rather not think about it much. This is how a lot of people start, and it works.
Hot Composting
Hot composting is the active, hands-on method that produces finished compost fast — sometimes in a few weeks to a couple of months. You build a large pile all at once with a good balance of greens and browns, keep it moist, and turn it regularly to feed it air.
When the balance and size are right, the center of the pile heats up to around 130–160°F (55–70°C). That heat speeds decomposition dramatically and is hot enough to kill many weed seeds and plant diseases. To get there, you generally need a decent volume of material — a pile roughly three feet wide, deep, and tall is the usual minimum for it to heat up properly. It’s more work, but it’s the fastest route to usable compost. If you’ve got a yard to work with, our backyard composting guide for beginners goes deeper on this.
Vermicomposting (Worm Bins)
Vermicomposting uses worms — specifically red wigglers — to eat through food scraps and turn them into rich worm castings, one of the most prized soil amendments out there. The whole system fits in a bin you can keep on a balcony, in a basement, under the sink, or in a closet.
This is the go-to method for apartment composting and anyone without outdoor space. Done right, a worm bin doesn’t smell and doesn’t attract pests. You feed the worms your fruit and veggie scraps, and they quietly do the rest. They’re sensitive to some foods (go easy on citrus, onion, and anything spicy or salty), but for small-scale indoor composting, worms are hard to beat.
Bokashi
Bokashi isn’t composting in the strict sense — it’s fermentation. You layer food scraps in a sealed bucket with a special inoculated bran that ferments the material without oxygen. Because it’s sealed and fermented rather than rotting in open air, bokashi can handle things a normal pile can’t, including meat, dairy, and cooked food.
The catch is that bokashi produces a fermented “pre-compost,” not finished soil. After a couple of weeks in the bucket, you bury that material in the garden or add it to a regular compost pile, where it breaks down the rest of the way quickly. It’s a good fit for small spaces and for households that want to divert all their food waste, not just the plant-based scraps.
In-Ground or Trench Composting
The simplest method of all: dig a hole or trench in your garden, drop in your food scraps, and cover them with soil. Underground, they break down on their own and feed the surrounding plants directly. There’s no bin, no turning, and no smell because everything’s buried.
Trench composting is great if you have garden beds and don’t want a visible pile. The downside is you can only process as much as you have space and energy to dig for, and it’s slower to give you compost you can scoop and move around.
Choosing the Right Compost Bin
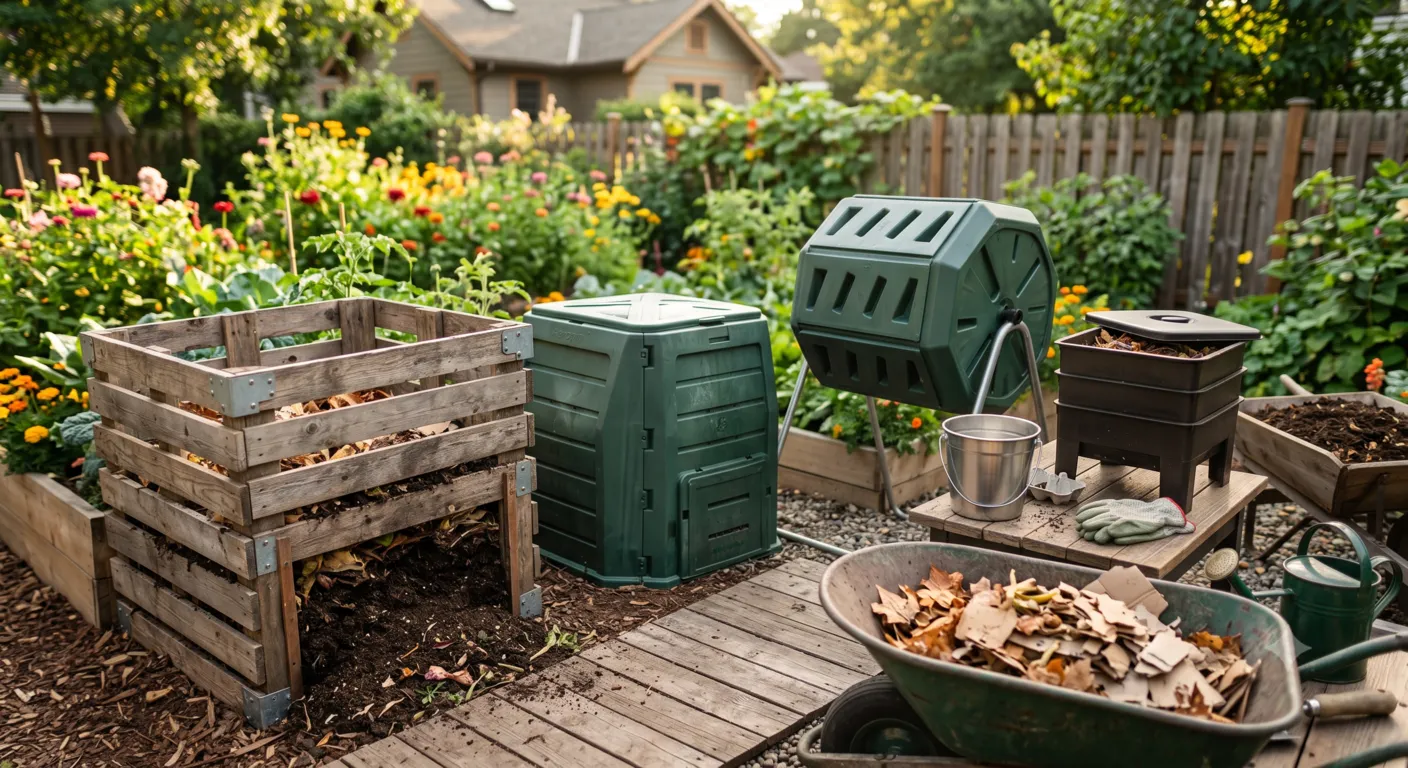
You don’t strictly need a bin to compost — a plain pile in the corner of a yard works fine. But a bin keeps things tidy, holds in heat and moisture, and helps keep animals out. Here’s how the common options compare so you can match one to your situation.
Open pile (no bin). Free and simple. You just designate a spot and start layering. Best for larger yards where appearance isn’t a concern and pests aren’t a big issue. The downside is it can look messy, dry out at the edges, and be more inviting to animals.
Enclosed stationary bin. These are the classic dark plastic bins, often cone- or barrel-shaped, with a lid on top and a hatch at the bottom. They’re affordable, hold in warmth and moisture, look neat, and discourage pests. You add material from the top and eventually harvest finished compost from the bottom. This is a solid all-around choice for most backyards and small spaces.
Tumbler. A sealed drum mounted on a frame that you crank or spin to mix the contents. Turning is effortless compared to digging into a pile with a fork, the enclosed design keeps rodents out, and the mixing speeds things up. Tumblers cost more and hold less than an open pile, but they’re popular with people who want a clean, easy, fast system in a small yard or on a patio.
Worm bin. A stacking or single-tray container built for vermicomposting. This is your option for indoor or balcony composting with no yard at all. You can buy a purpose-built worm bin or make one from plastic storage totes.
DIY bins. You can build a perfectly good composter from wooden pallets, wire mesh, or a drilled-out trash can with holes for airflow. If you’re handy and want to keep costs near zero, this is the way.
A small but useful add-on: a countertop compost caddy for the kitchen. It’s just a small lidded container (often with a charcoal filter to control odor) that holds scraps for a day or two before you carry them out to the main bin. It makes the daily habit far less of a chore, and an inexpensive caddy or even a repurposed container does the job.
If you’re not sure where to begin, an enclosed stationary bin for a yard, or a worm bin for an apartment, is the easiest first step. You can always change methods later once you know how much you’ll be composting. For specific product picks, see our roundup of the best compost bins of 2026.
Step-by-Step Guide to Composting
Here’s how to start composting at home, from setup to your first batch of finished compost. Follow these steps and you’ll have a working system going this week.
Step 1: Pick your method and spot
Decide which approach fits your space — a backyard bin, a tumbler, a worm bin indoors, or a trench in the garden. If you’re outdoors, choose a level, well-draining spot with partial shade. Full sun can dry the pile out; deep shade keeps it cold and soggy. Easy access from the kitchen helps you actually use it.
Step 2: Set up your bin
Place your bin or mark out your pile. If you’re using an open pile or a stationary bin, set it directly on bare soil if you can — that lets worms and microbes move up into it from the ground. Keep a bag or box of browns nearby so you’ve always got dry material on hand.
Step 3: Build a base layer
Start with a few inches of coarse browns at the bottom — small twigs, woody prunings, or a layer of dry leaves and shredded cardboard. This creates air pockets underneath and helps excess water drain instead of pooling. Think of it as the pile’s foundation.
Step 4: Add greens and browns in layers
Now start adding material. A rough rhythm that works: add a layer of greens (kitchen scraps), then cover it with a thicker layer of browns. Repeat as you go. Keeping that two-to-three-parts-browns balance is what prevents smell and keeps air flowing. Whenever you dump in wet scraps, cover them with something dry.
Step 5: Keep it as moist as a wrung-out sponge
Your pile should feel damp, not dripping and not dusty. Grab a handful — it should hold together and release only a drop or two of water when squeezed. If it’s dry, sprinkle some water or add more greens. If it’s soaking, mix in browns and turn it to dry it out.
Step 6: Turn it for air (if you want speed)
Every week or two, turn the pile with a fork or spin your tumbler. Turning mixes everything, adds oxygen, and speeds decomposition. For hot composting, regular turning is essential. For a cold pile, turning is optional — it’ll just take longer if you skip it.
Step 7: Watch, smell, and adjust
A healthy pile smells earthy and warms up in the center. If it smells sour or like ammonia, it needs more browns and air. If nothing’s happening, it may need more greens, more moisture, or more material. You’ll get a feel for it within a few weeks — composting is forgiving, and almost any problem is fixable.
Step 8: Harvest your finished compost
You’ll know it’s ready when it’s dark, crumbly, and smells like fresh earth, with most of the original scraps no longer recognizable. In a stationary bin, the finished material settles at the bottom, so harvest from there while the top keeps cooking. Sift out any large bits that haven’t broken down and toss them back in.
Step 9: Use it
Spread finished compost over garden beds, mix it into soil before planting, use it as part of a potting mix, or sprinkle it across the lawn. There’s no real way to use too much — your plants and soil will take all you can make.
Common Problems and Solutions
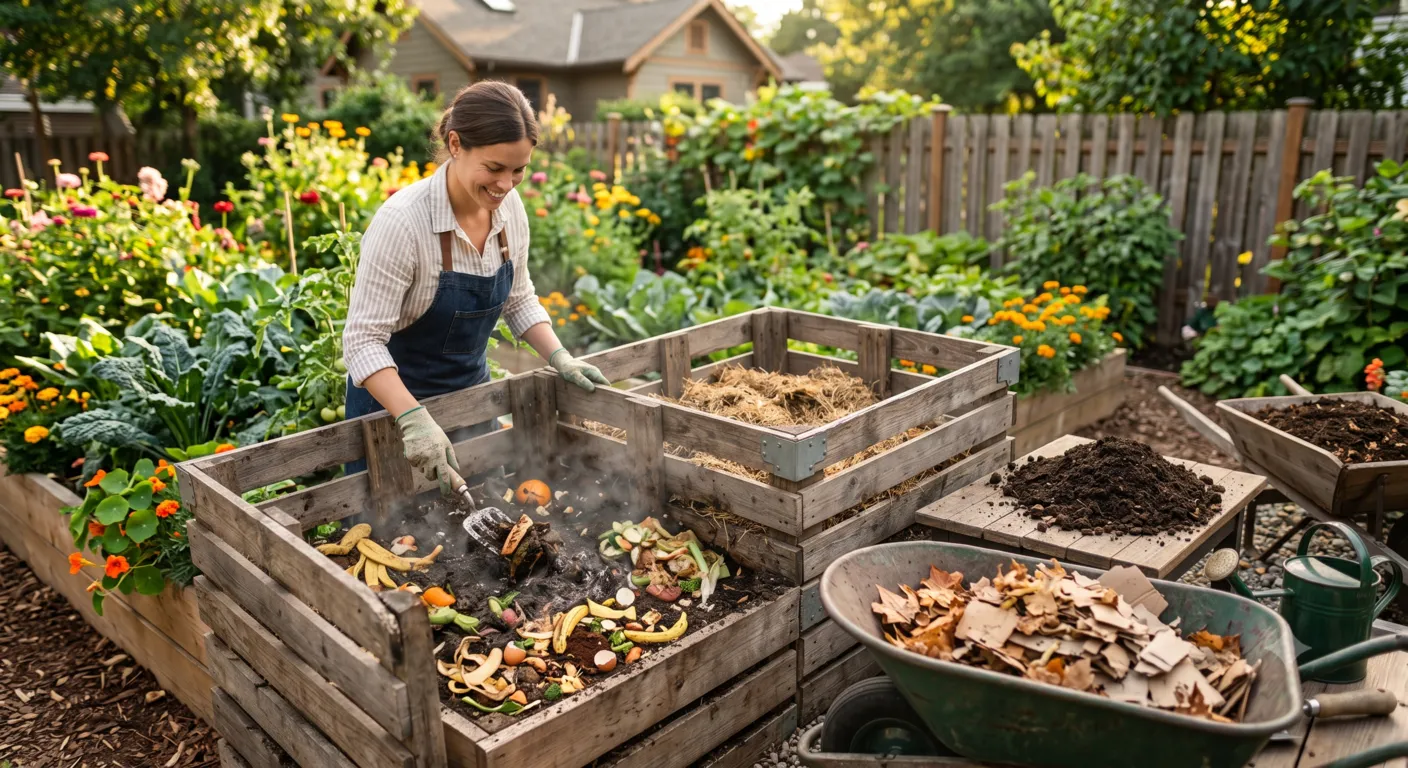
Every beginner hits a few snags. None of them mean you’ve failed — they’re just the pile telling you what it needs. Here are the issues that come up most, and how to fix each one. For a broader rundown, see our guide to common composting mistakes beginners make.
My Compost Smells Bad
A healthy pile smells like soil, not garbage. A rotten or sour smell almost always means too much wet, green material and not enough air. A sharp ammonia smell means too much nitrogen.
The fix: Add a good amount of browns — dry leaves, shredded cardboard, paper — and mix them in well. Turn the pile to get oxygen moving through it. Hold off on adding more food scraps for a few days while it rebalances. The smell usually clears up within a day or two.
My Pile Isn’t Breaking Down
If your scraps are just sitting there unchanged, the pile is missing one of its core ingredients. The usual culprits are too dry, too small, or short on greens.
The fix: Check the moisture first — add water if it’s dry. Add greens (food scraps, grass clippings) if it’s all browns. Make sure you have enough material; a tiny pile won’t generate the activity it needs. And chop materials smaller so the microbes have more surface to work on.
I’m Getting Pests or Flies
Rodents, raccoons, and clouds of fruit flies are signs that exposed food is attracting attention.
The fix: Always bury fresh food scraps under a layer of browns or existing compost instead of leaving them on top. Never add meat, dairy, or greasy food to an open pile. Switch to an enclosed bin or tumbler if animals are persistent. For fruit flies on an indoor caddy, keep the lid sealed and empty it more often.
It’s Too Wet or Too Dry
A soggy, matted pile has no air and breaks down slowly while smelling off. A bone-dry pile goes dormant and does nothing.
The fix: Too wet — add browns, turn it, and cover the pile so rain can’t keep soaking it. Too dry — sprinkle with water or add greens, and turn to distribute the moisture. You’re aiming for that wrung-out-sponge feel every time.
If there’s one mistake I see new composters make over and over, it’s piling in wet kitchen scraps day after day without ever adding dry material. Keep browns within arm’s reach and most problems never start.
Frequently Asked Questions
How long does composting take?
It depends on the method. A cold, untended pile can take six months to two years. A well-managed hot pile that you turn regularly can produce finished compost in a few weeks to a couple of months. Worm bins and tumblers generally fall somewhere in between. Chopping materials small, balancing greens and browns, and turning the pile all speed things up.
Can I compost in an apartment with no yard?
Yes. The most popular options for apartments are a worm bin (vermicomposting), which fits under a sink or on a balcony, and bokashi, which ferments scraps in a sealed bucket on your countertop. Both are compact and odor-free when set up correctly. Many cities also offer curbside compost collection or community drop-off sites if you’d rather not process scraps at home.
Does compost smell bad?
A properly maintained compost pile does not smell bad — it smells like rich, earthy soil. Bad odors are a sign that the balance is off, usually too much wet green material and not enough air. Adding browns and turning the pile almost always solves it. If you’re composting indoors with worms or bokashi, smell is rarely an issue when the system is balanced.
Do I have to turn my compost?
No, but turning speeds things up. Turning adds oxygen, which the microbes need to work quickly, so a turned pile breaks down much faster than one left alone. If you’re patient and don’t mind waiting, you can run a “cold” pile and barely turn it at all. If you want compost sooner, turn it every week or two.
Can I put eggshells, citrus, or cooked food in my compost?
Eggshells are fine — crush them first, since they break down slowly. Citrus peels are okay in a regular compost pile in moderation, but go easy on them in a worm bin, since worms dislike acidic food. Cooked food is best kept out of an open backyard pile because it attracts pests; if you want to compost cooked leftovers, meat, or dairy, use a bokashi system designed to handle them.
What do I do with finished compost?
Use it as a soil amendment and natural fertilizer. Mix it into garden beds and vegetable patches, blend it into potting soil for containers, top-dress your lawn, or work a handful into the soil around houseplants. Compost improves soil structure, helps it hold water, and feeds plants slowly over time. There’s almost no way to overdo it.
Final Thoughts
Composting sounds like a project, but it’s closer to a habit — and a forgiving one. You don’t need special skills, expensive gear, or a big yard. You need a spot for your scraps, a stash of dry browns to balance the wet greens, and a little patience while nature does the actual work.
Start small. Set up one bin, or one worm box, and begin tossing in your fruit and veggie scraps this week. You’ll make mistakes early on, the pile might smell once or get too wet, and every one of those problems has a simple fix you now know. Within a few months you’ll be scooping out dark, crumbly compost that came entirely from things you used to throw away.
That’s the quiet magic of learning how to start composting at home. It shrinks your trash, cuts methane from landfills, rebuilds the soil, and saves you money — all from a corner of the yard or a bin under the sink. It’s one of the most practical, satisfying eco-friendly habits you can build, and a real step toward a lower-waste, more sustainable way of living.
Grab a container, save tomorrow’s coffee grounds and veggie peels, and start. Your garden — and the planet — will thank you for it.